## Magento自定义安装
在开始Magento的安装之前,建议完成如下事情:
* 浏览器访问:http://公网ip/9panel ,快速了解镜像的使用
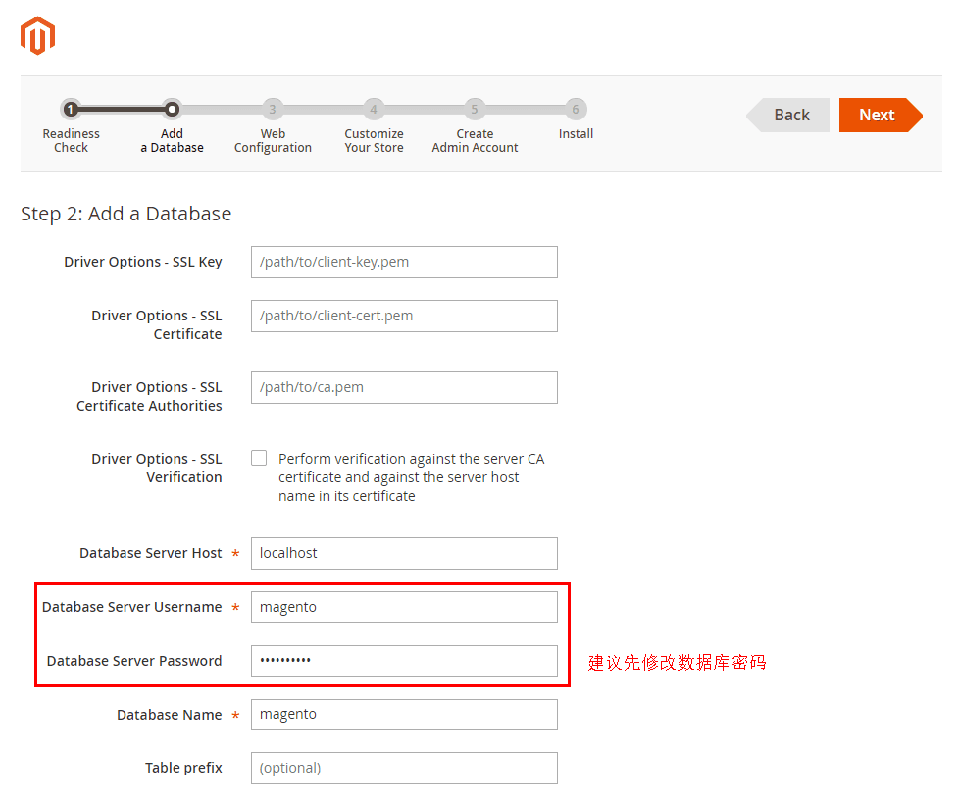
* 通过phpMyAdmin将数据库默认的root密码修改成您自己的密码,并牢记密码
* 通过域名控制台解析域名(增加一个A记录指向服务器IP),并测试是否成功
> 如果浏览器访问没有反应,请检查安全组设置,确保80端口是开放的。
---
### Magento安装向导:
1. 本地浏览器访问:*http://域名* 或 *http://公网IP* 进入安装向导(首选域名访问方式安装),选择接受协议,进入下一步

2. 环境检测通过,选择Next进入下一步
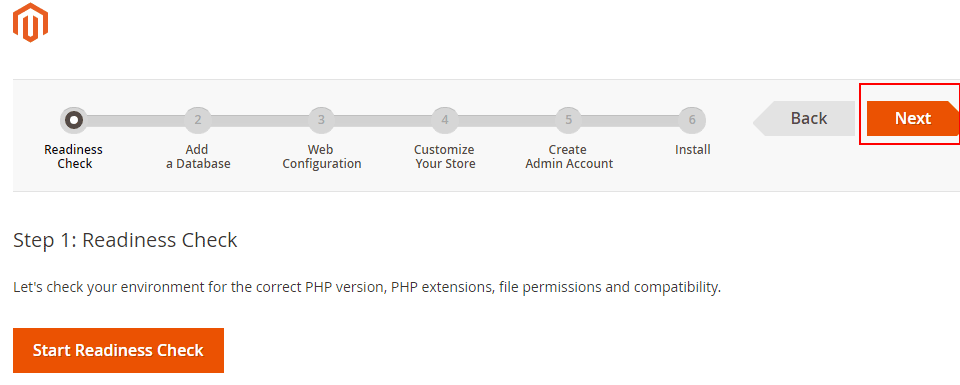
3. 系统进入配置数据库界面(默认数据库为:magento,默认用户名和密码参考本文档”常用账号与密码说明“章节)。然后设置管理员账号,牢记之,点击“Next”
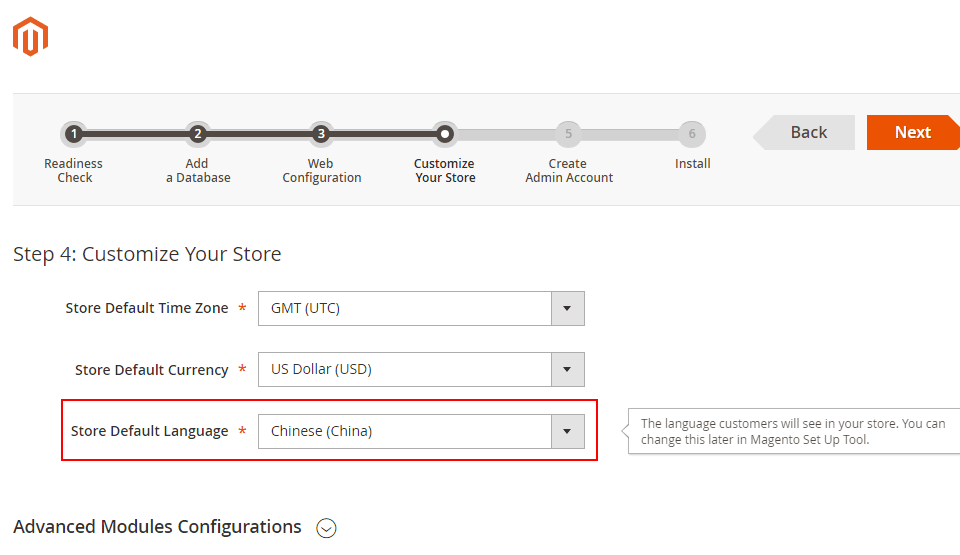
4. 设置语言、时区等信息
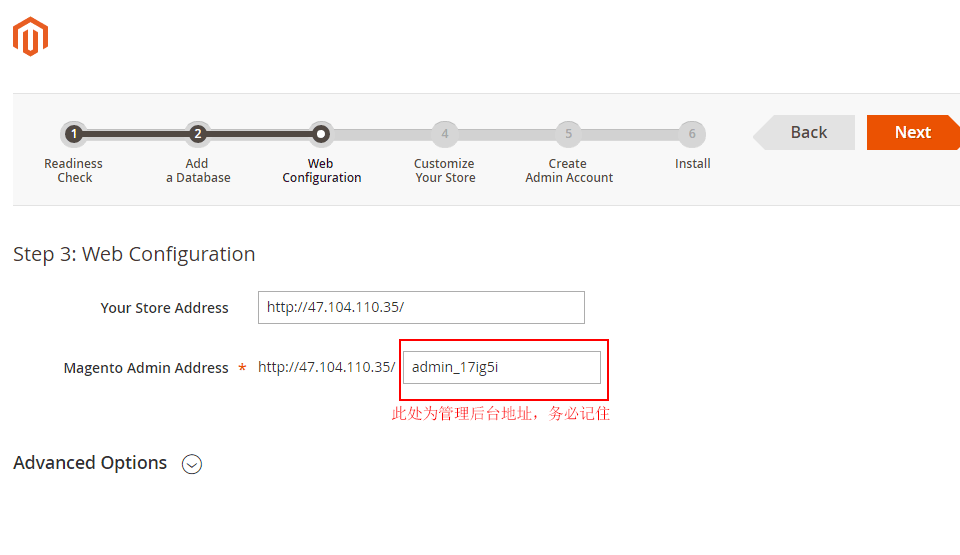
5. 设置店铺的访问域名和后台地址(后台地址设置后一定要记住)
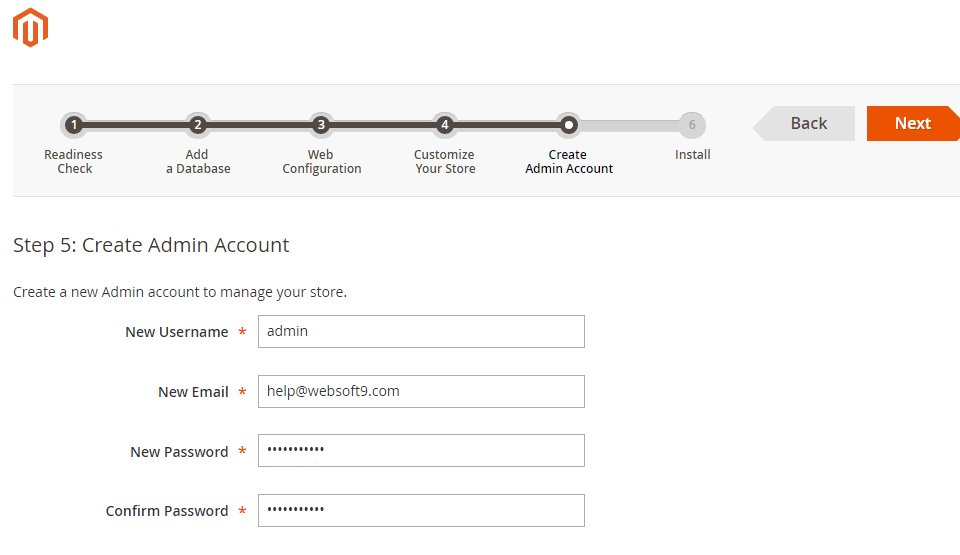
6. 自行设置管理账号和密码
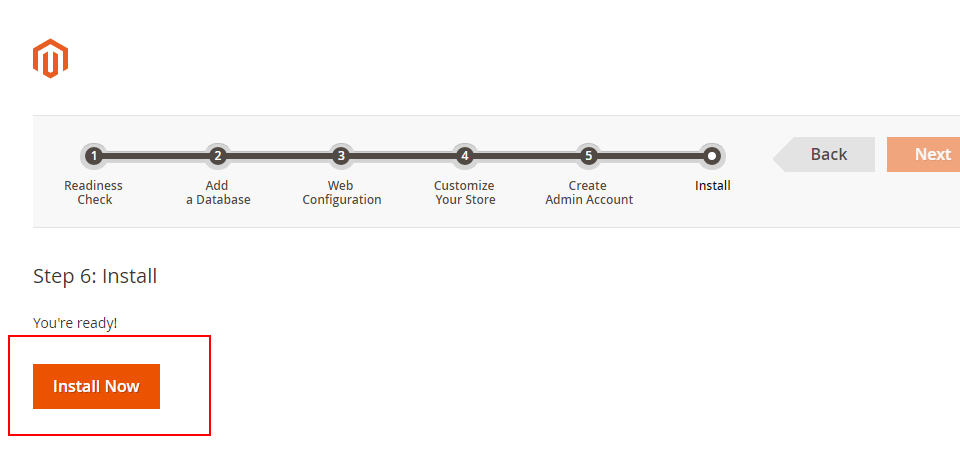
7. 系统进入待安装过程,点击“Install Now”,耐心等待
8. 安装成功后,系统会有如下提示
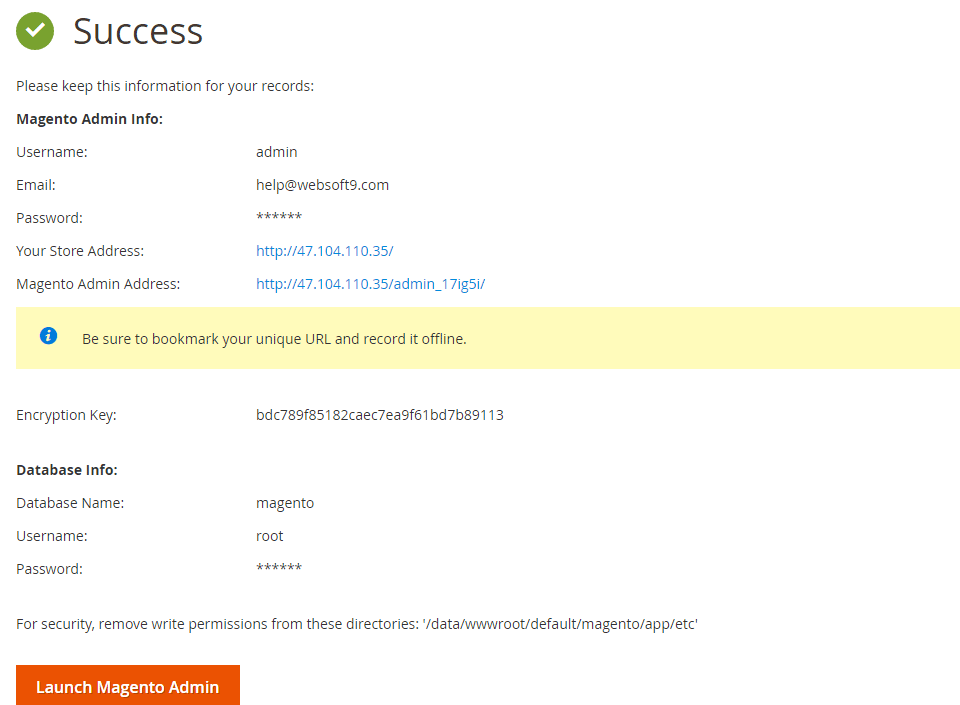
9. 点击“Launch Magento Admin”,登陆后台
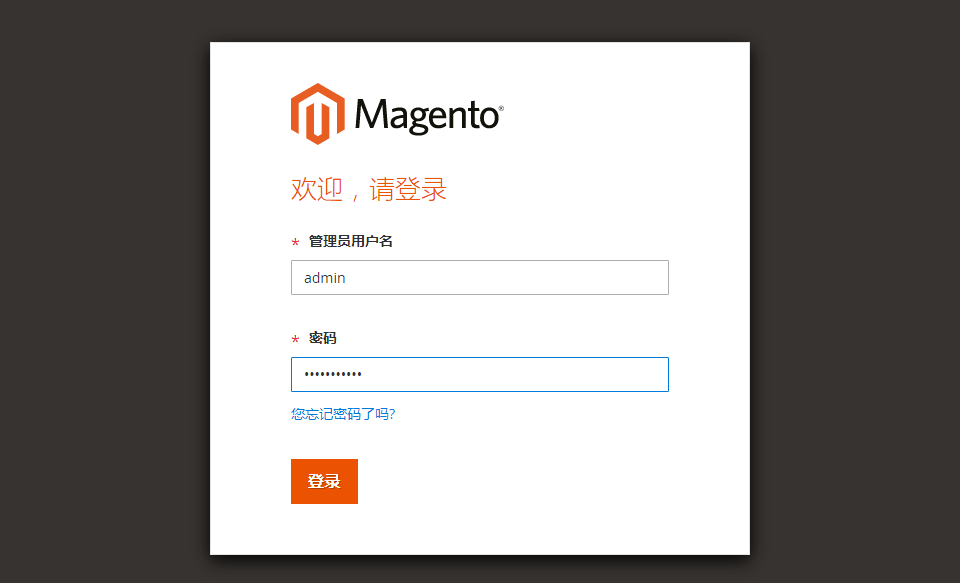
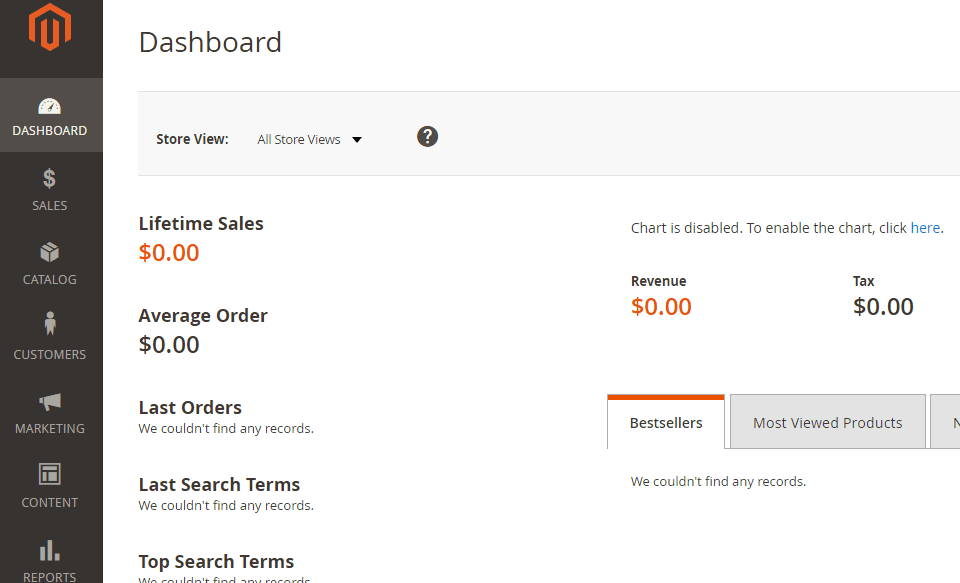
10. 登陆成功,体验后台
### Cron job问题处理(Windows)
magento安装完成后,若出现”One or more indexers are invalid. Make sure your Magento cron job is running.”的提示,请执行以下步骤:
1\. 双击右下角xampp界面,点击shell按钮打开命令行窗口;
2\. 输入”php htdocs\magento\bin\magento indexer:reindex”即可;
3\. 回到magento界面,刷新页面,该问题即可解决。
- 关于本书
- 获取一键安装包
- OpenCart
- 功能及演示
- OpenCart镜像组成
- OpenCart自定义安装
- OpenCart实用教程
- OpenCart使用中文?
- OpenCart如何发送邮件?
- OpenCart如何绑定域名?
- OpenCart如何设置HTTPS?
- OpenCart vQmod
- OpenCart支付宝和微信支付
- OpenCart后台操作手册
- OpenCart重置管理员密码
- OpenCart备份
- OpenCart升级
- OpenCart常见问题
- 附:常用账号和密码
- Magento
- 功能及演示
- Magento镜像组成
- Magento自定义安装
- Magento实用教程
- Magento如何使用中文?
- Magento如何绑定域名?
- Magento如何发送邮件?
- Magento如何安装主题和扩展插件?
- Magento如何设置HTTPS?
- Magento支付宝和微信支付
- Magento备份
- Magento升级
- Magento开发
- Magento常见问题
- 附:常用账号和密码
- Prestashop
- 功能及演示
- Prestashop镜像组成
- Prestashop自定义安装
- Prestashop实用教程
- Prestashop如何发送邮件?
- Prestashop如何使用多语言?
- Prestashop如何绑定域名?
- Prestashop如何设置HTTPS?
- Prestashop备份
- Prestashop升级
- Prestashop开发
- Prestashop常见问题
- 附:常用账号和密码
- ECSHOP
- 功能介绍
- ECSHOP镜像组成
- ECSHOP自定义安装
- ECSHOP实用教程
- ECSHOP如何发送邮件?
- ECSHOP如何绑定域名?
- ECSHOP如何设置HTTPS?
- ECSHOP备份
- ECSHOP升级
- ECSHOP常见问题
- 附:常用账号和密码
- iWebShop
- 功能介绍
- iWebShop镜像组成
- iWebShop自定义安装
- iWebShop实用教程
- iWebShop如何发送邮件?
- iWebShop如何设置HTTPS?
- iWebShop备份
- iWebShop升级
- iWebShop常见问题
- 附:常用账号和密码
- nopCommerce
- 备份
- 环境升级
- 域名管理
- 域名解析
- 域名绑定
- 环境配置
- PHP配置
- LAMP环境
- WAMPServer环境
- 数据库管理
- Web服务启停
- 示例:如何修改Linux文件权限?
- 云服务器操作
- Linux:登录与文件管理(SFTP)
- Windows:远程桌面与文件管理
- 安全组设置
- 快照备份
- 附:常见Linux命令操作
- 附:工具和术语
